In your Upserve by Lightspeed POS, you can create floor plans to visually manage tables and checks in your restaurant. Before you create a floor plan, you will need to create zones (sections of your restaurant) and tables in HQ.
Review this article to learn how to create zones, tables and floor plans from start to finish. You can also click on the quick links below to jump to any section.
Create and Manage Zones in HQ
Create and Manage Tables in HQ
Add Tables & Obstacles to Your Upserve POS Floor Plan
Edit Floor Plan & Tables
Start a Table Check
Create and Manage Zones in HQ
Zones are the areas of your restaurant where servers and bartenders are assigned table sections to service. Zones also appear as revenue centers in your POS reports, so you compare your sales by section of your restaurant.
After you create zones, you can create tables and floor plans for you Upserve by Lightspeed POS. You can assign a specific zone to each employee in their HQ user profile, if you would like them to only create checks in specific zones.
You will need to create at least one zone in order to create a floor plan.
- Log in to HQ
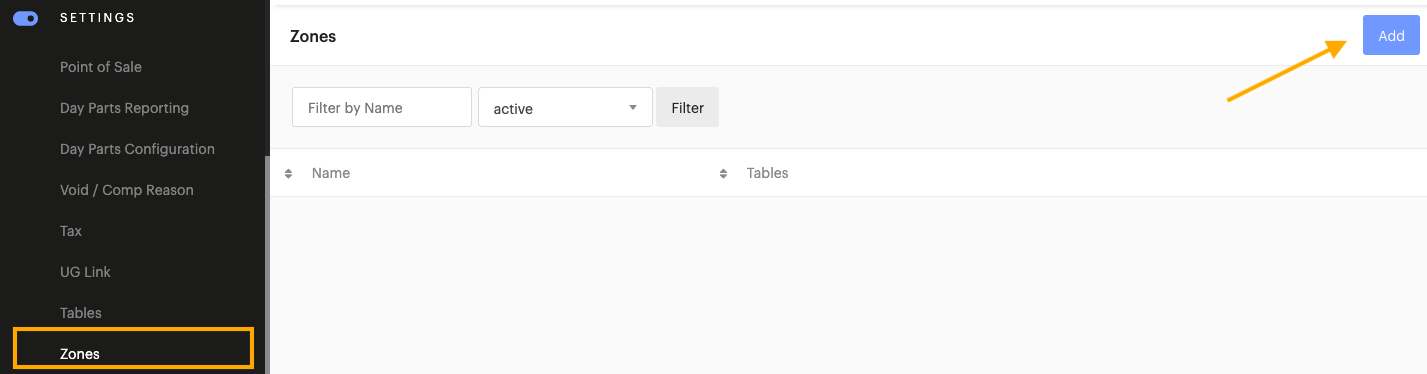
- Click on Settings > Zones
- Click Add
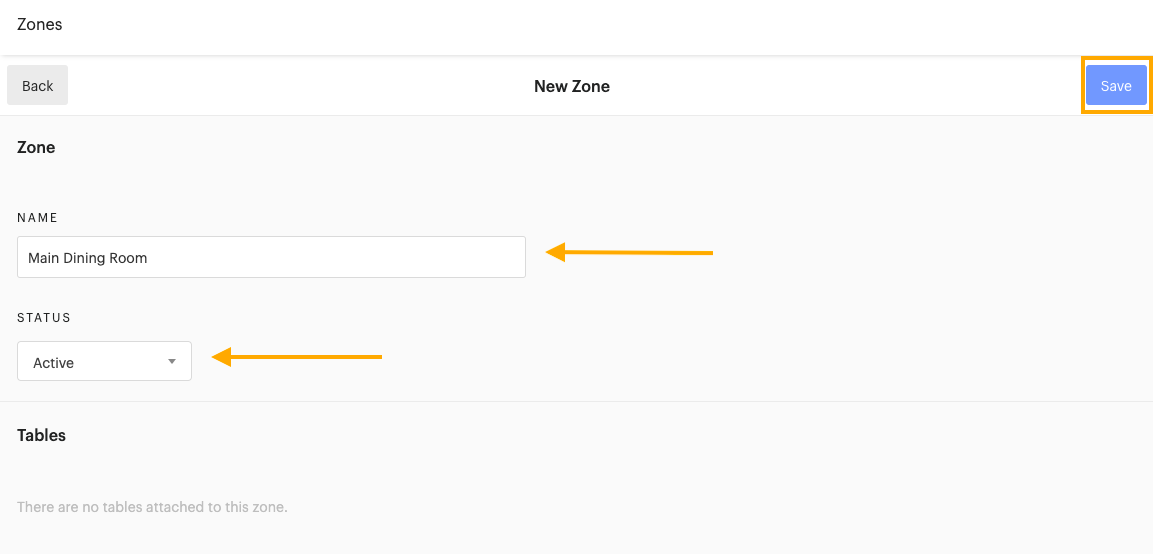
- Enter the preferred name for the new zone (Ex: Main Dining Room)
- Make sure that the Status is set to Active
- Click Save
- Repeat these steps to continue adding all of the zones in your restaurant
| Remove a Zone: If you create a zone that you would like to remove, click on the zone on the HQ Zones page. Change the zone's 'Status' from 'Active' to 'Archive'. Click Save. If tables are assigned to the archived zone, you will have the option to archive the tables or to assign the tables to a different zone. |
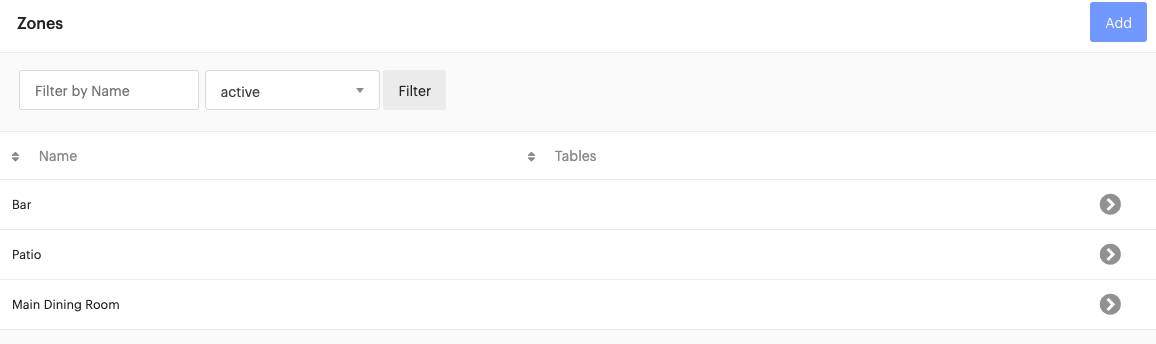
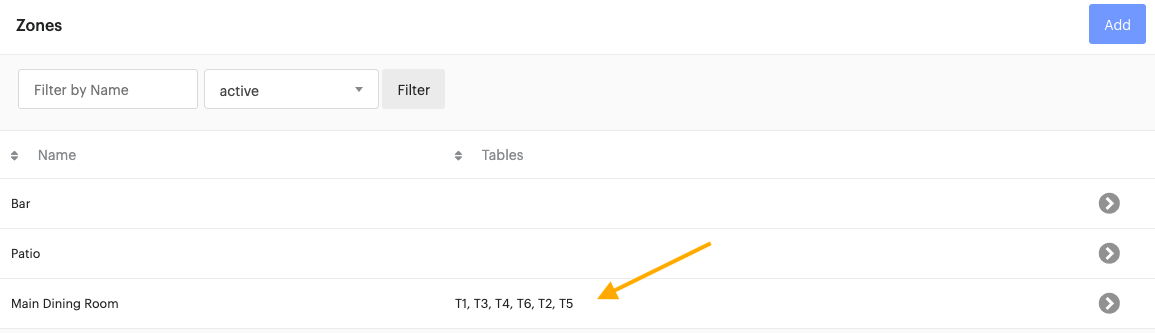
In the next section, you will learn how to add tables to zones in HQ. Once tables are added to a zone, the tables will appear next to the zone on the HQ Zones page.
Create and Manage Tables in HQ
When you create tables in HQ, you can easily assign tables to zones and enter a maximum guest count for each table. Once a table is added to HQ, it can be added to your Upserve by Lightspeed POS floor plan.
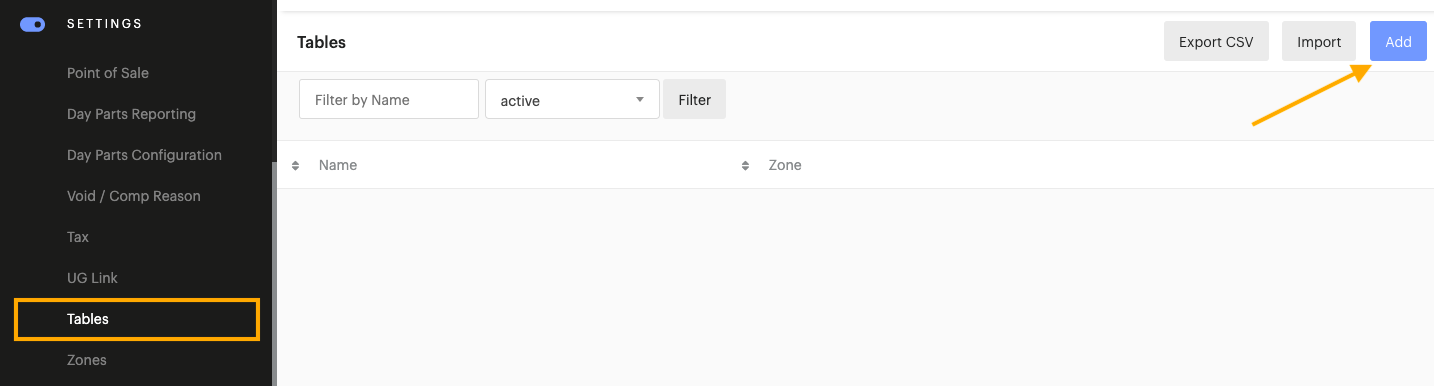
- Log in to HQ
- Click on Settings > Tables
- Click Add
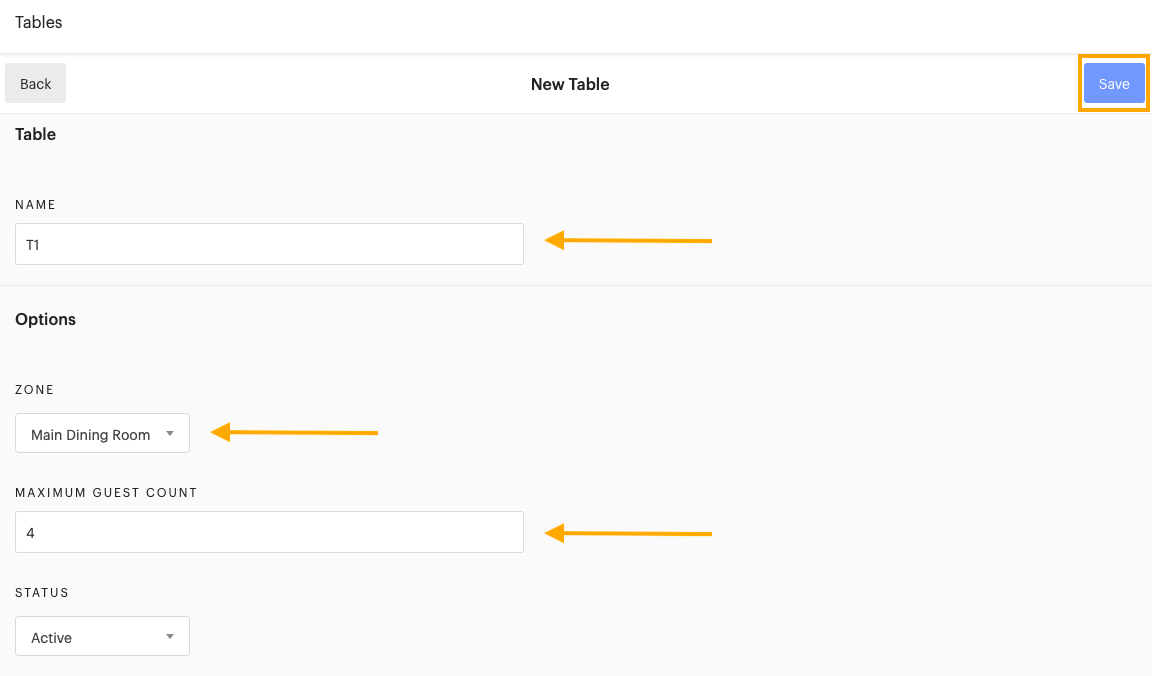
- Enter the preferred table Name, Zone and Maximum Guest Count
- Make sure the table Status is set to Active
- Click Save
| Tip: If you plan on using the OpenTable integration with your Upserve POS, make sure that your table names are no more than four characters in length (Ex: T4 instead of Table4). To learn more about this integration, click here. |
- Repeat these steps to continue adding tables

Add Tables & Obstacles to Floor Plan
After you create zones and tables in HQ, you are ready to create a floor plan for each zone.
- Pin in to the terminal
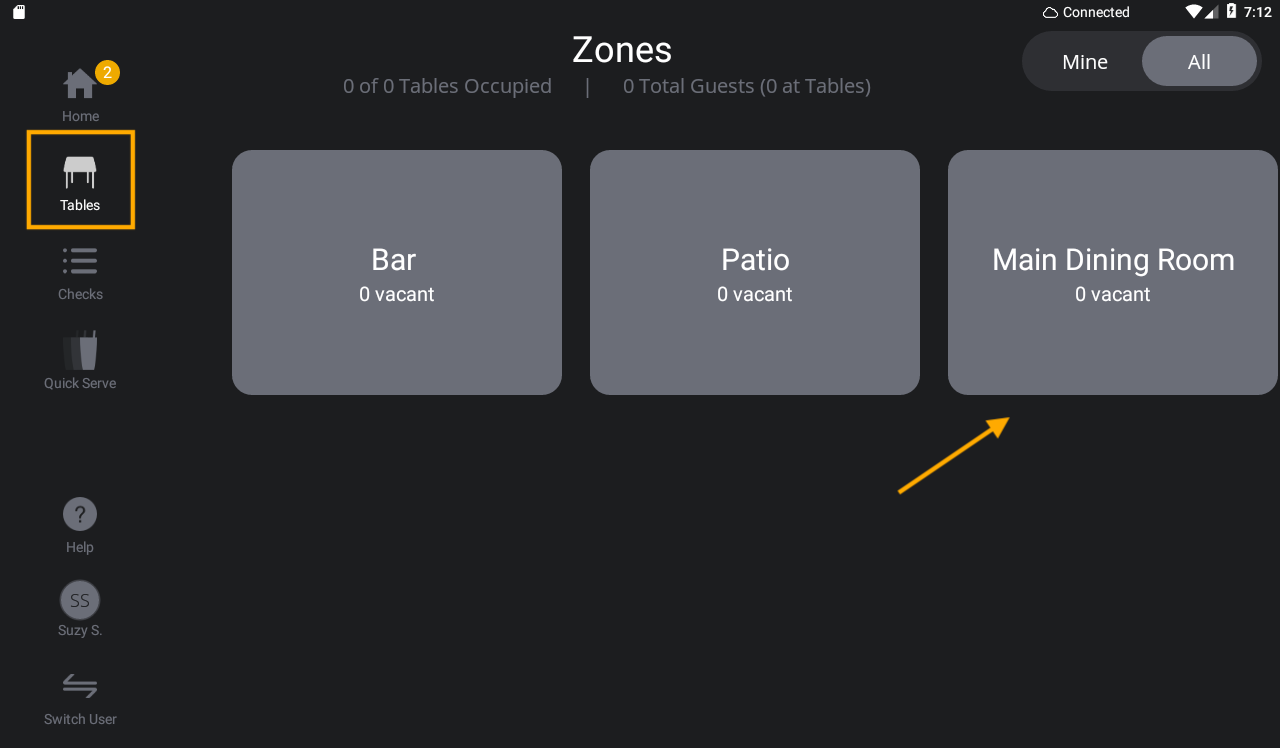
- Tap the Tables icon to the left of the Home screen
- Tap on the Zone you wish to edit
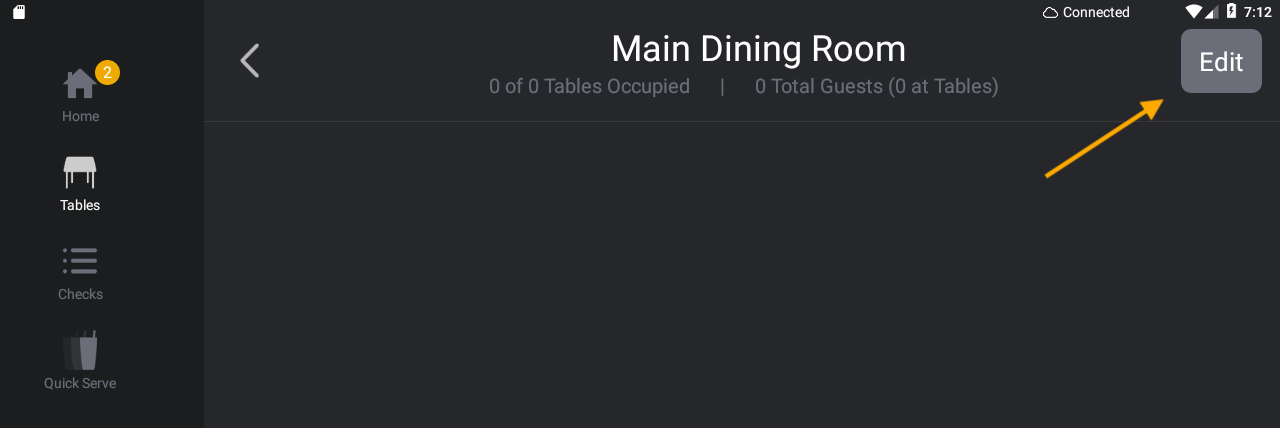
- Tap Edit to open the floor plan grid
Add HQ Tables to the Floor Plan
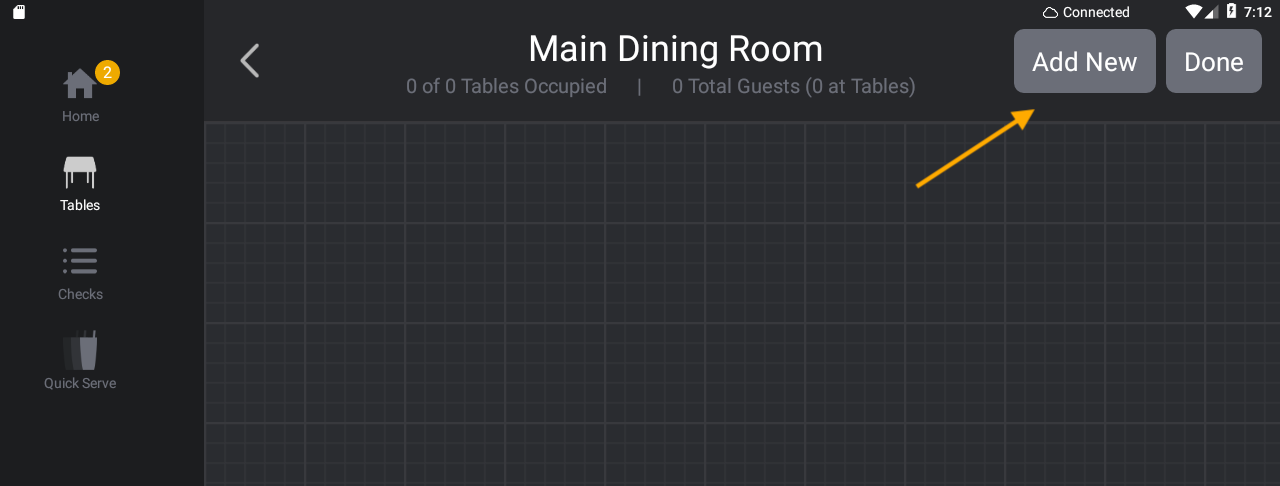
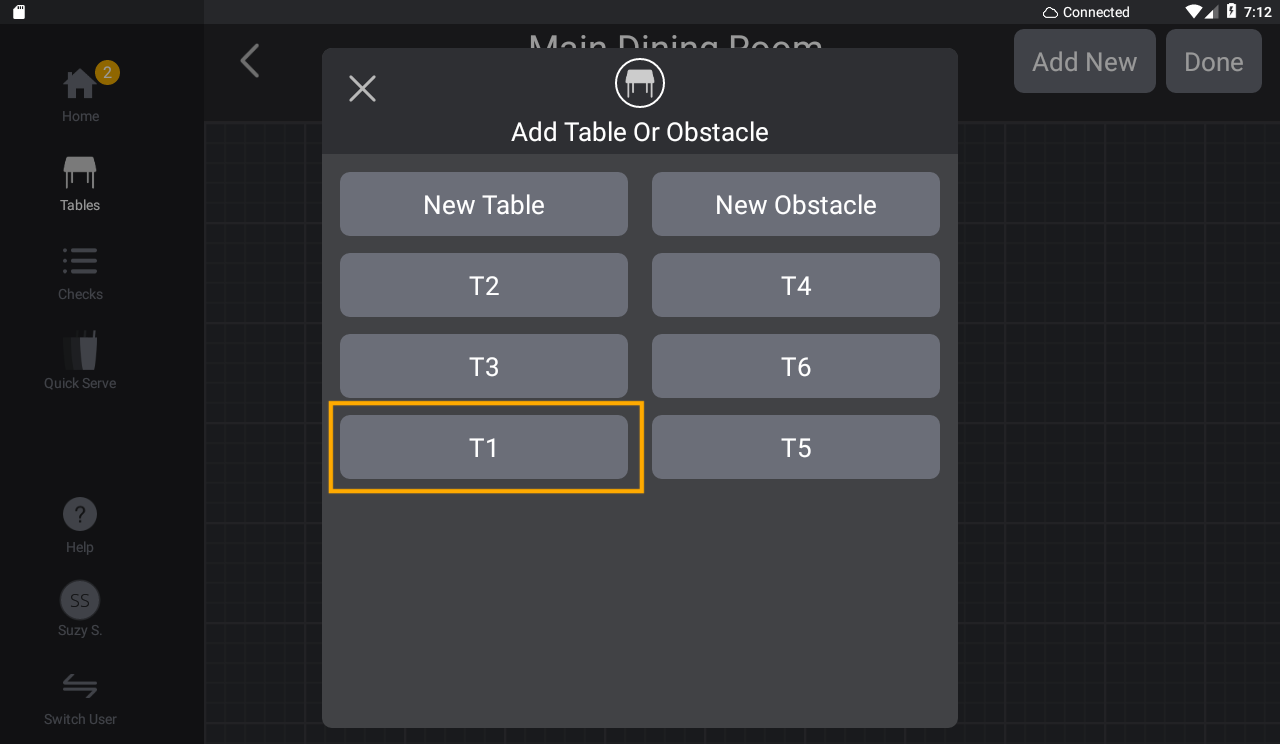
- After you tap Add New, select a table that you created in HQ (Ex: T1)
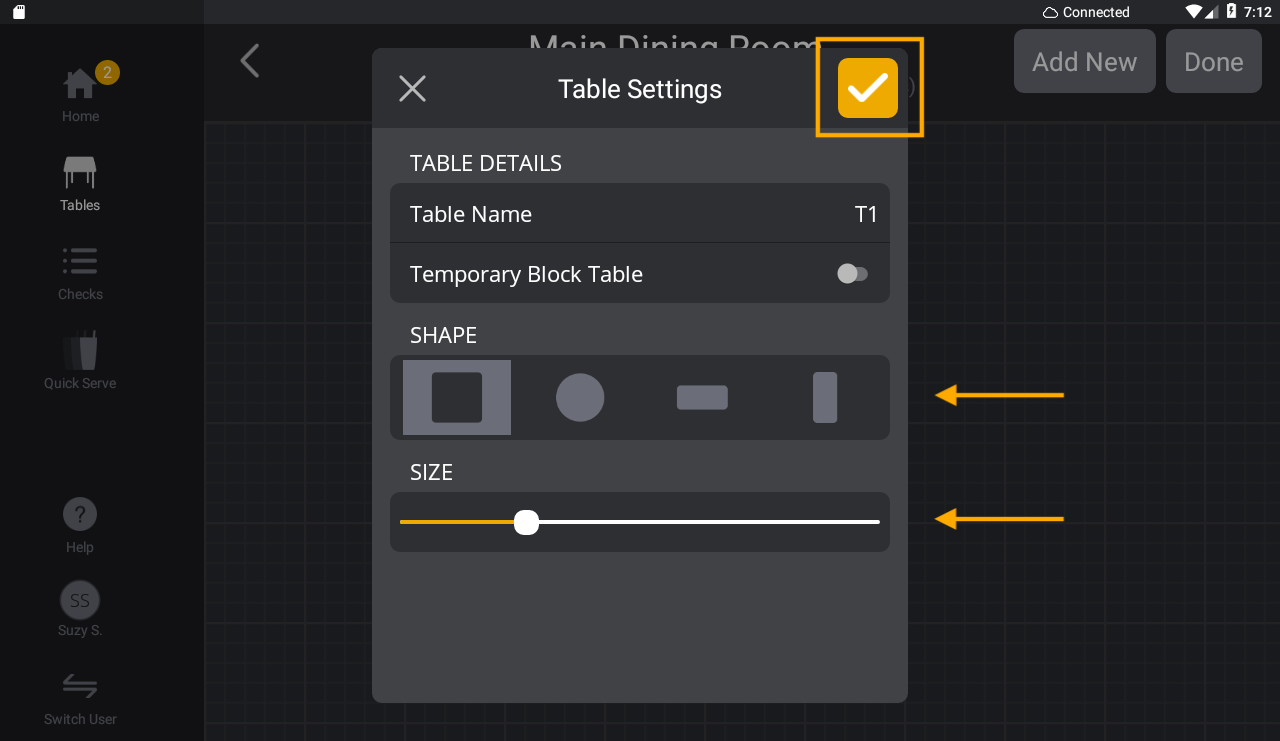
- Select a preferred table shape and use the sliding bar to adjust the table size
- Tap the orange check mark to save
- Tap, hold and drag the table the desired location on the floor plan
- Tap Add New to continue adding tables
Add a New Table to the Floor Plan
The Upserve by Lightspeed POS allows you to add tables to your floor plan that you did not create in HQ, so you can create new tables quickly and easily!
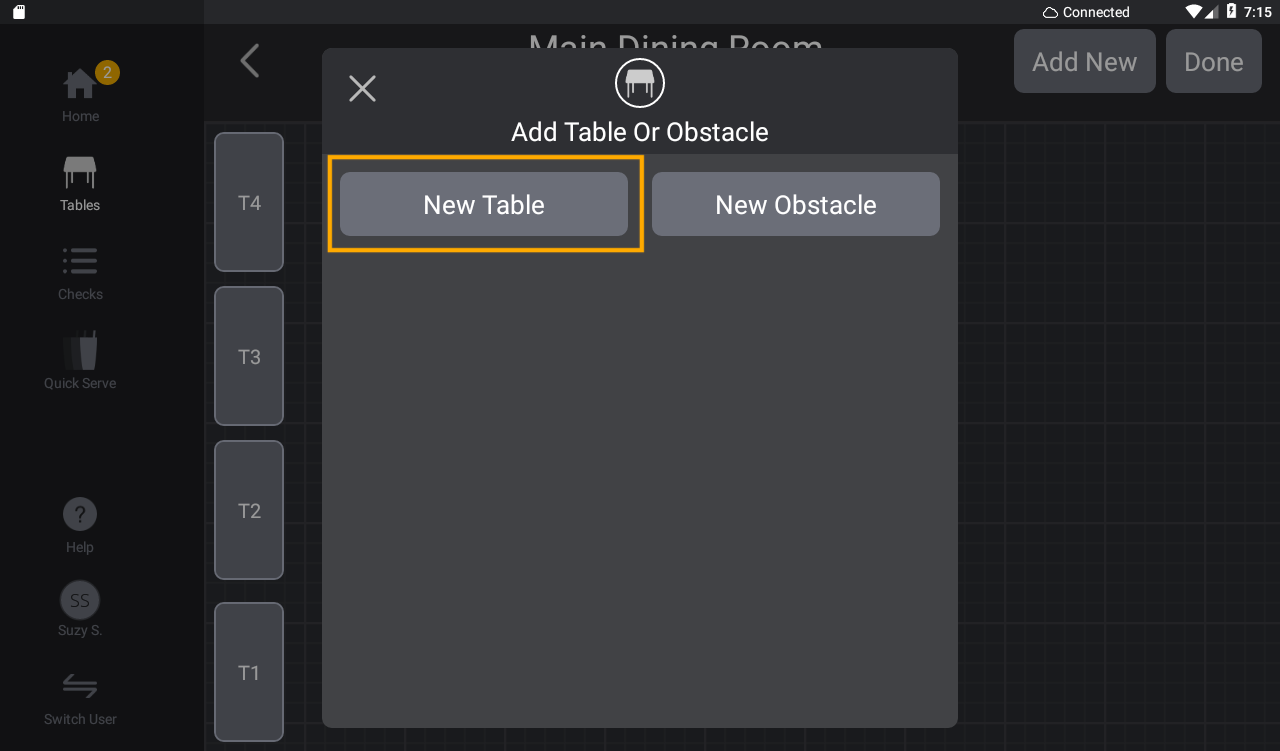
- From the edit floor plan screen, tap Add New
- Tap New Table
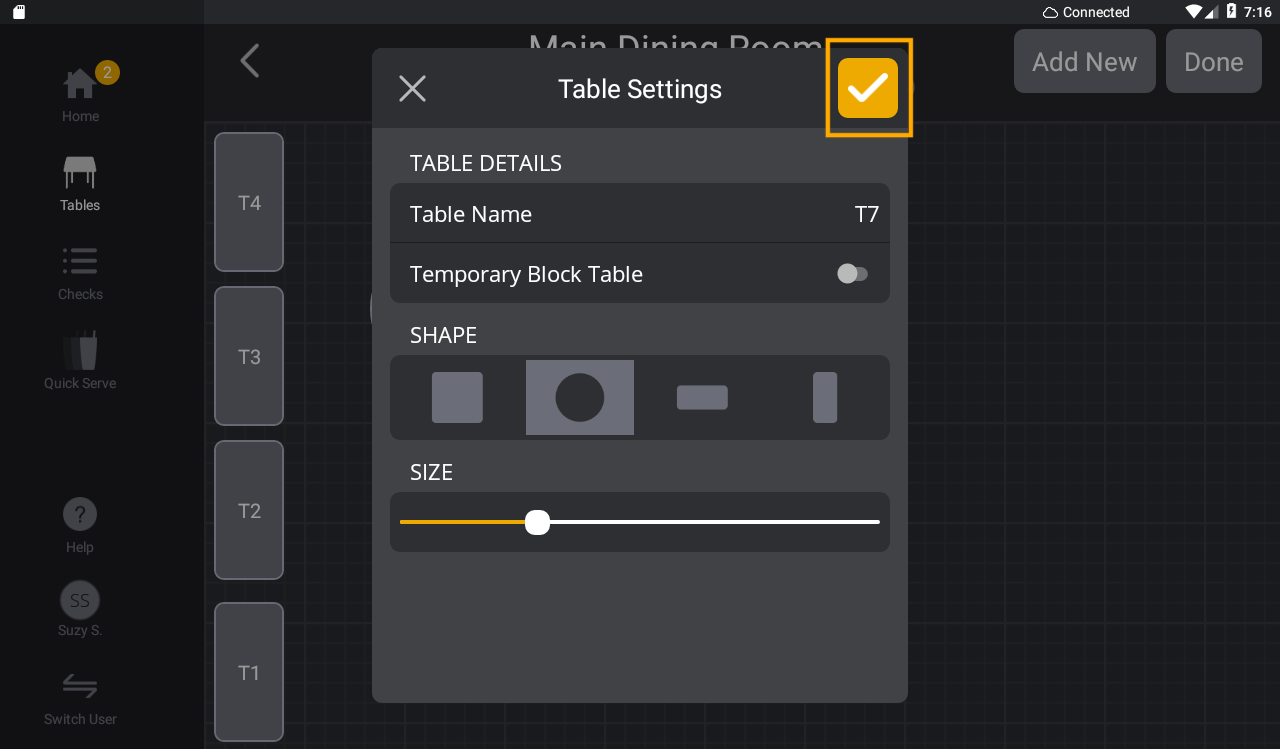
- Tap Table Name and enter the preferred name
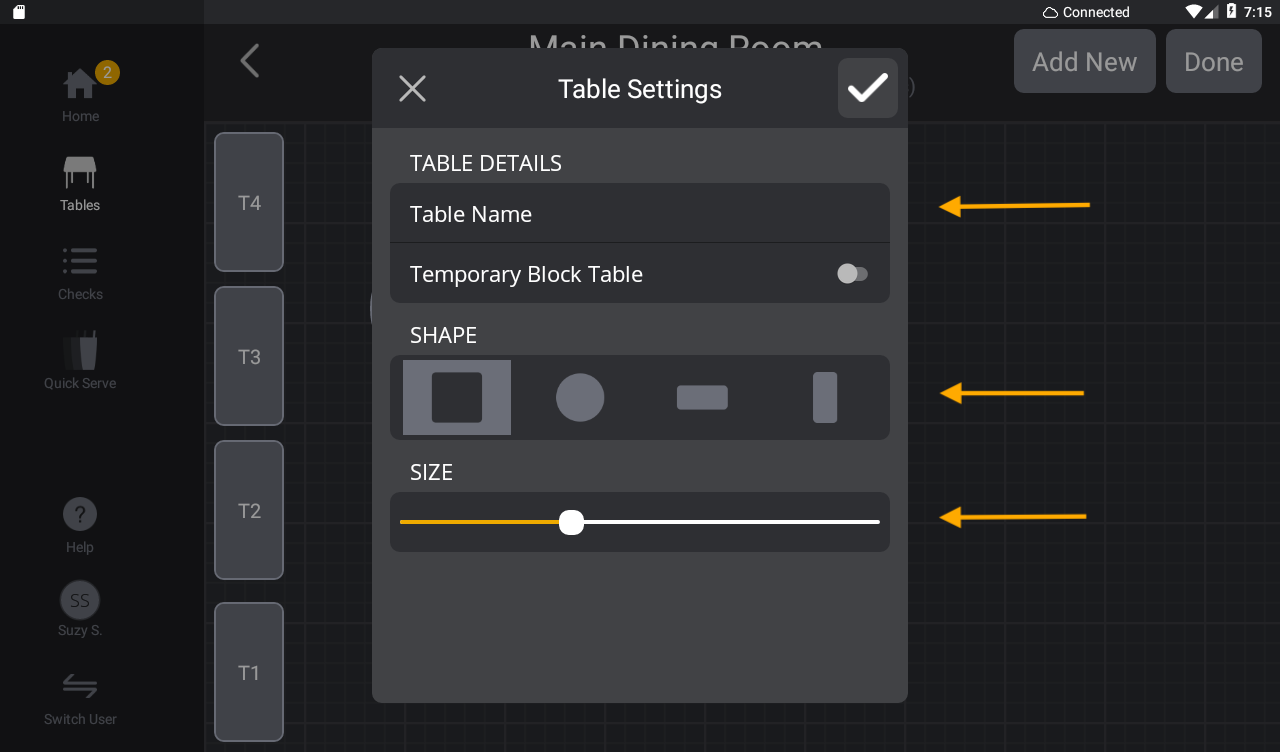
- Select a preferred table shape and use the sliding bar to adjust the table size
- Tap the orange check mark to save
Add an Obstacle to the Floor Plan
If you have obstacles in your restaurant, such as sculptures, fountains or server stations, you can add obstacles to your floor plan.
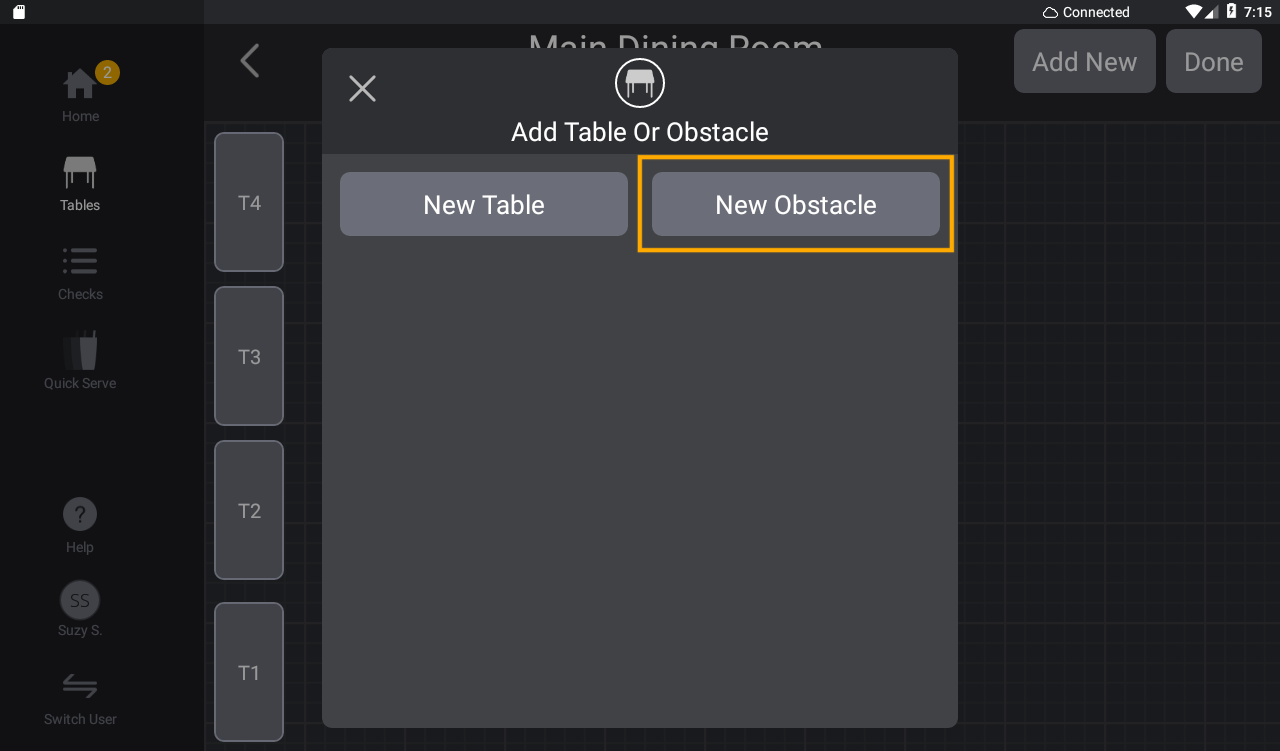
- From the edit floor plan screen, tap Add New
- Tap New Obstacle
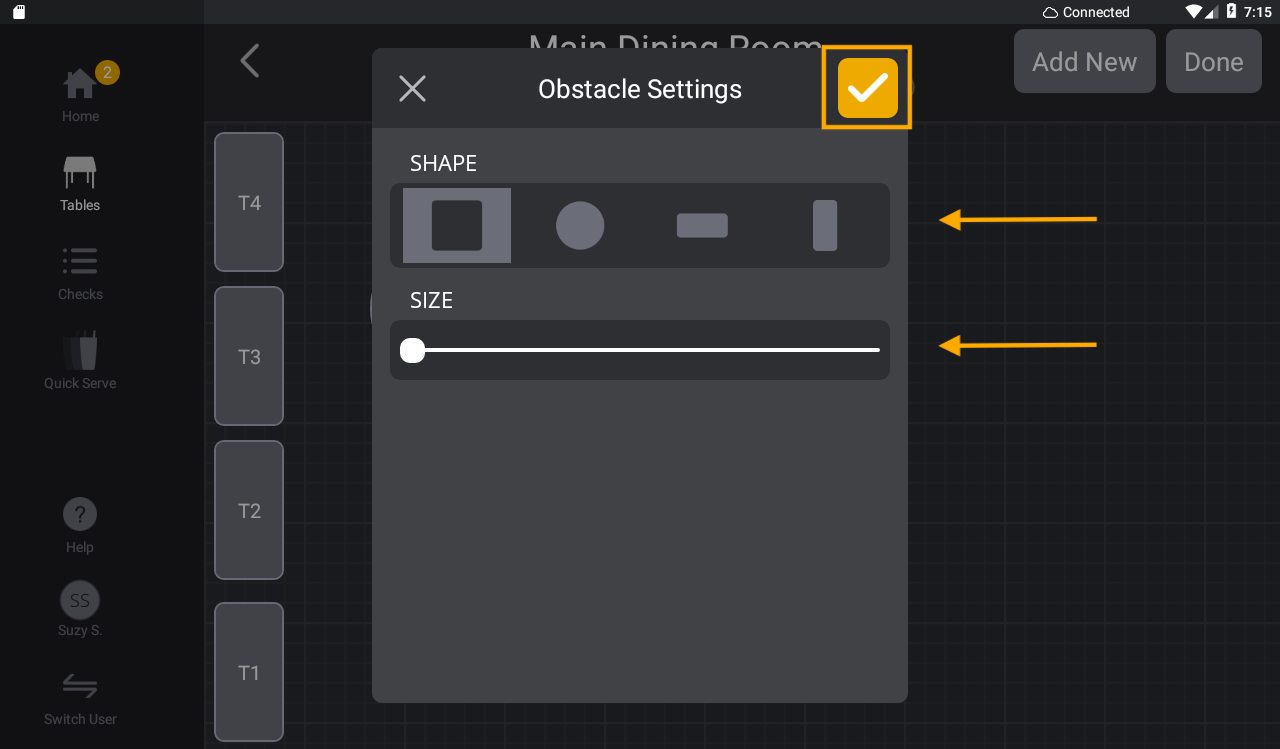
- Select a preferred obstacle shape and use the sliding bar to adjust the obstacle size
- Tap the orange check mark to save
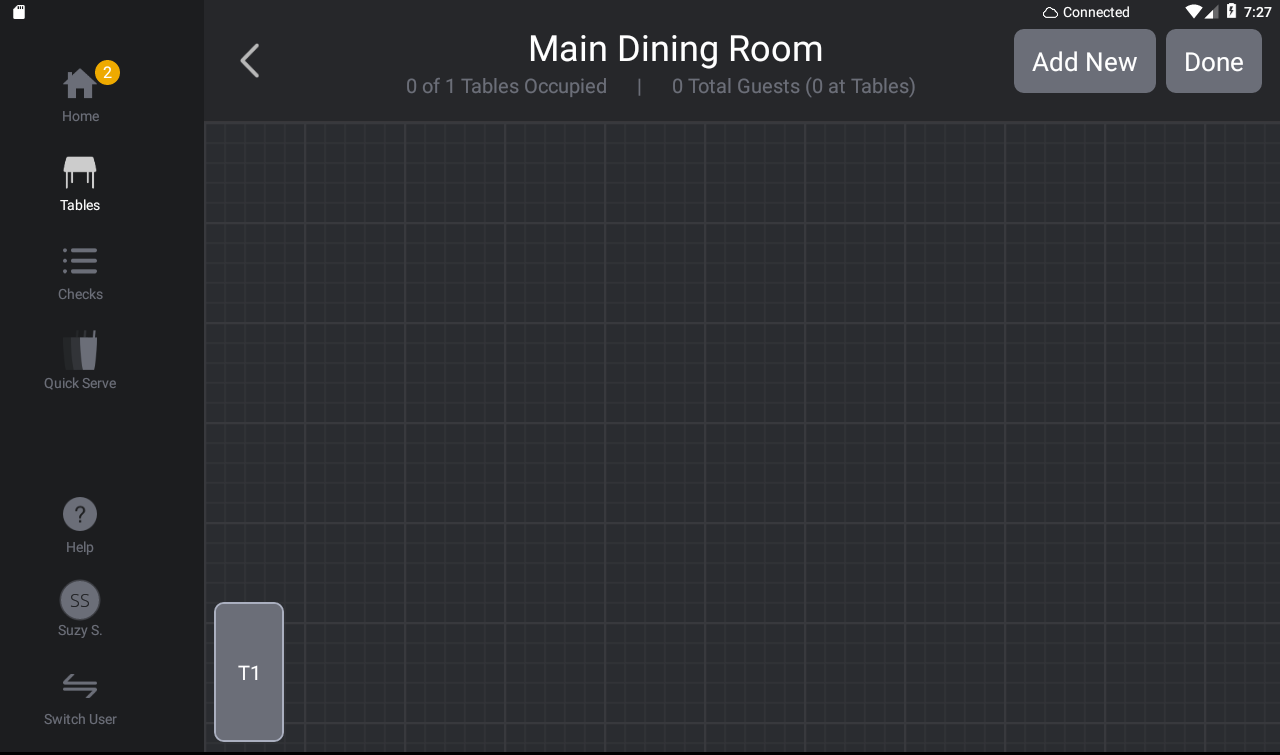
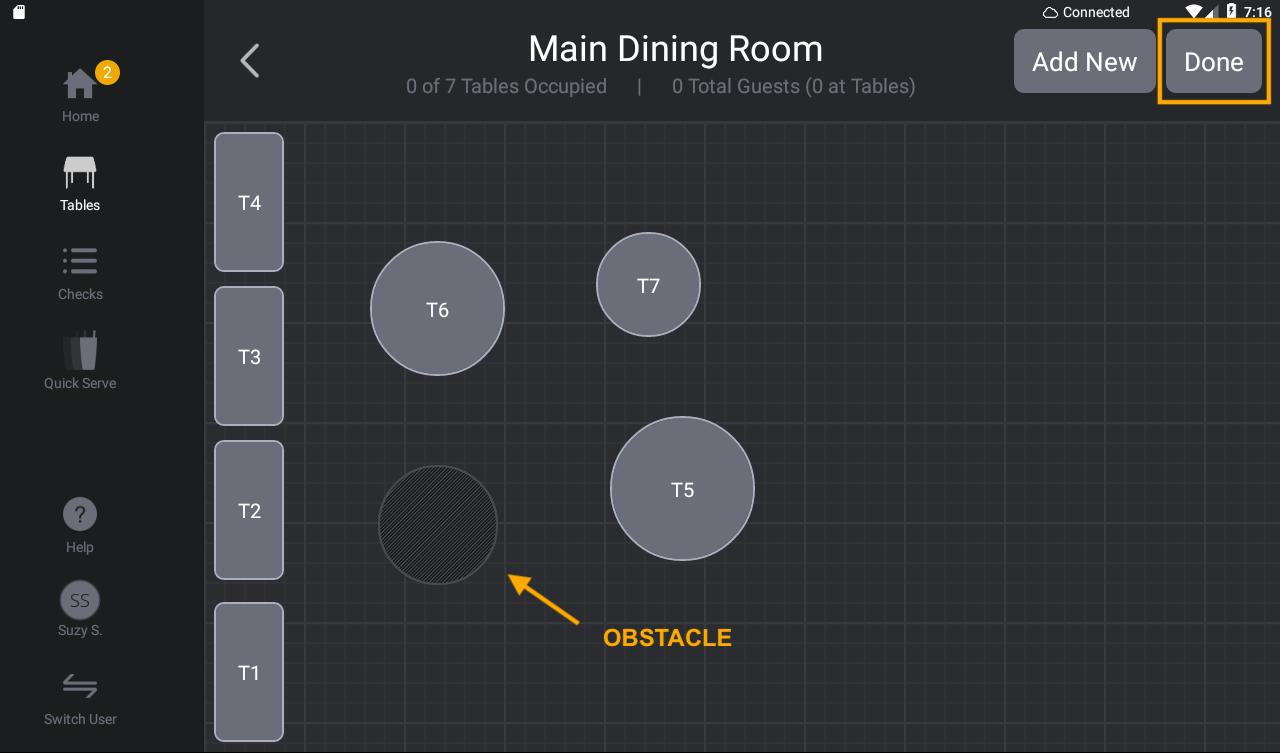
Tap Done to Save & Exit the Floor Plan Grid
After you have finished adding tables and obstacles to your floor plan, tap 'Done' to save your floor plan. Once the floor plan is saved, you can begin creating table checks. You can also edit your floor plan at any time.
Edit Floor Plan & Tables
You can edit your floor plan and add/edit tables at any time. To edit your floor plan layout or a table on your floor plan, follow these steps:
- Pin in to the terminal
- Tap the Tables icon to the left of the Home screen
- Tap on the Zone you wish to edit
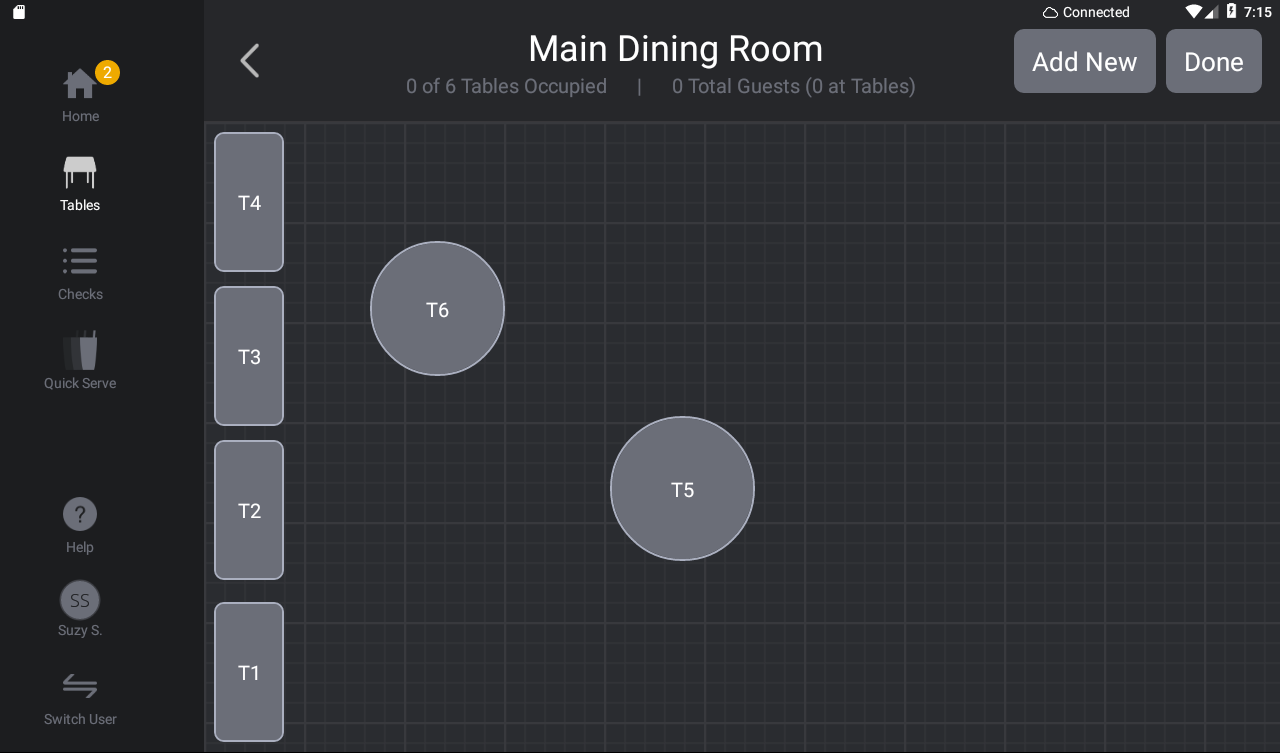
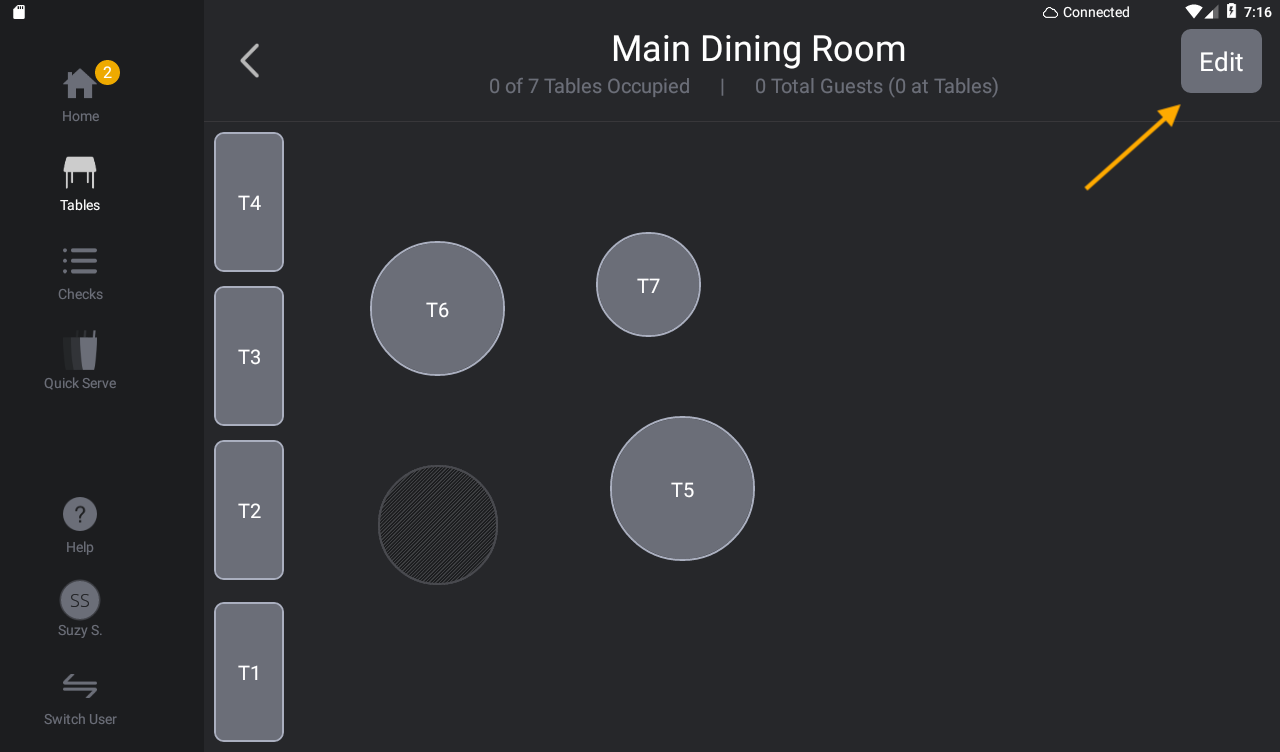
- Tap Edit
After you tap 'Edit', the floor plan grid will appear and you can begin moving tables in your floor plan or tap 'Add New' to add new tables and obstacles.
Edit Table
If you need to edit an individual table, tap on the table. Tap on 'Table Name' to edit the table name and/or select a different shape or size for the table. Tap the orange check mark to save your changes. Tap 'Done' to exit the floor plan grid and save your floor plan.
Block & Delete Tables: When you edit a table, you will notice that you can apply a temporary block to the table or delete the table.
When you block a table, you prevent other users from starting a check on that table. You can block a table that is reserved or should not be used during service. To block a table, toggle 'Temporary Block Table' on. Then tap the orange check mark and 'Done' to save. When you are ready to unblock the table, return to the edit table screen and toggle 'Temporary Block Table' off. Then tap the orange check mark and 'Done' to save.
If you would like to remove a table from your floor plan, tap 'Delete' from the edit table screen. Then tap the orange check mark and 'Done' to save. |

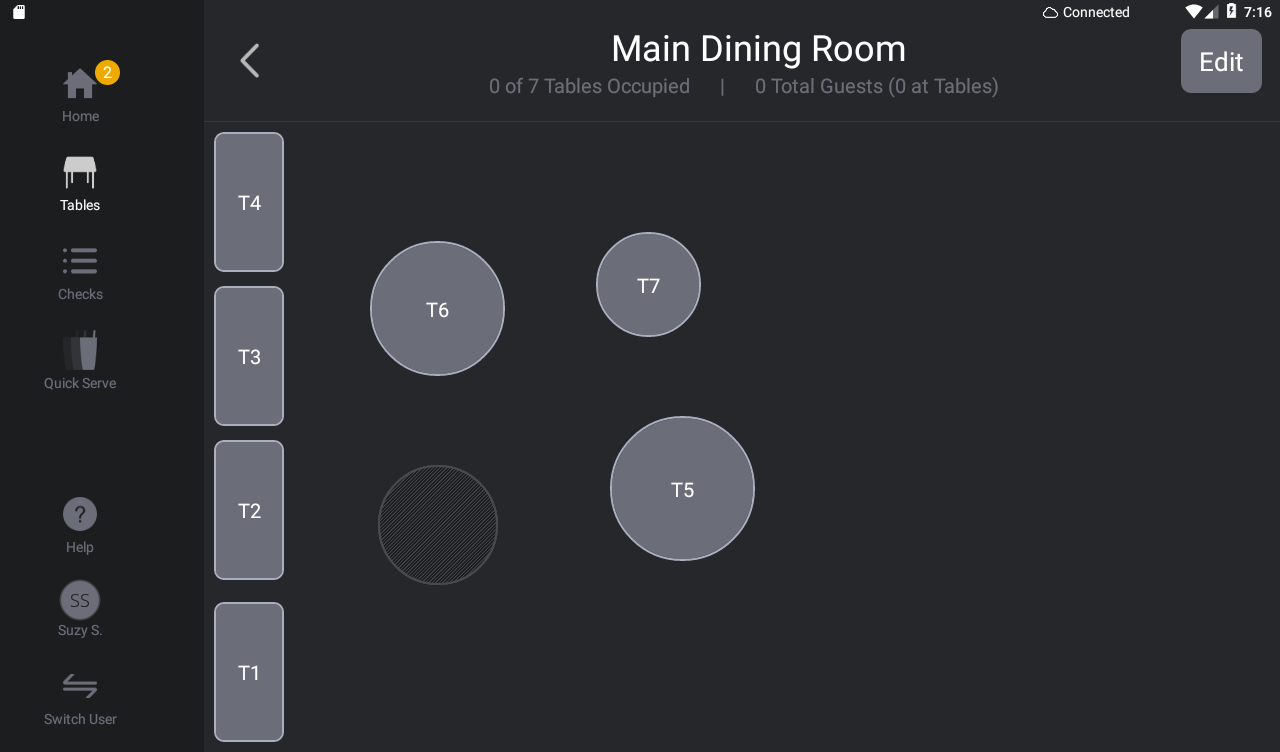
Start a Table Check
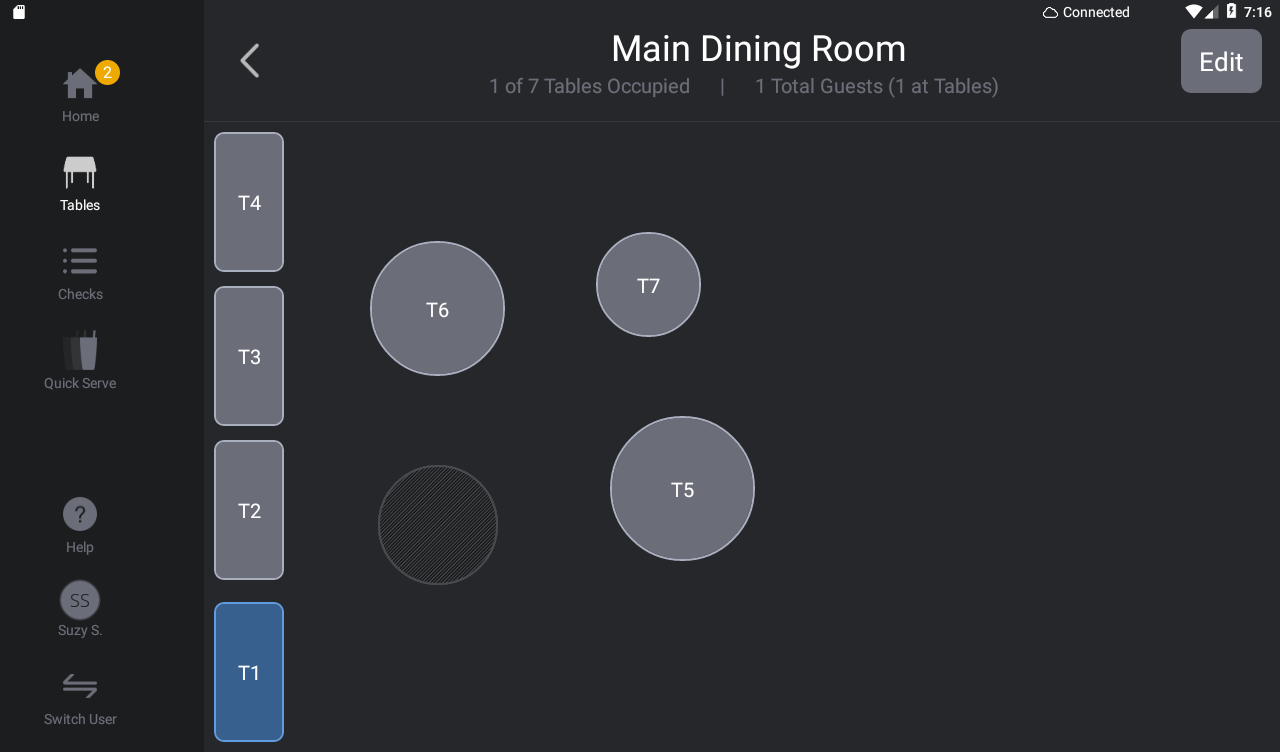
After you finish creating your floor plan and tap 'Done,' your floor plan will be saved to the zone and you can begin creating table checks.
- From the Tables screen, tap on the table you wish to seat
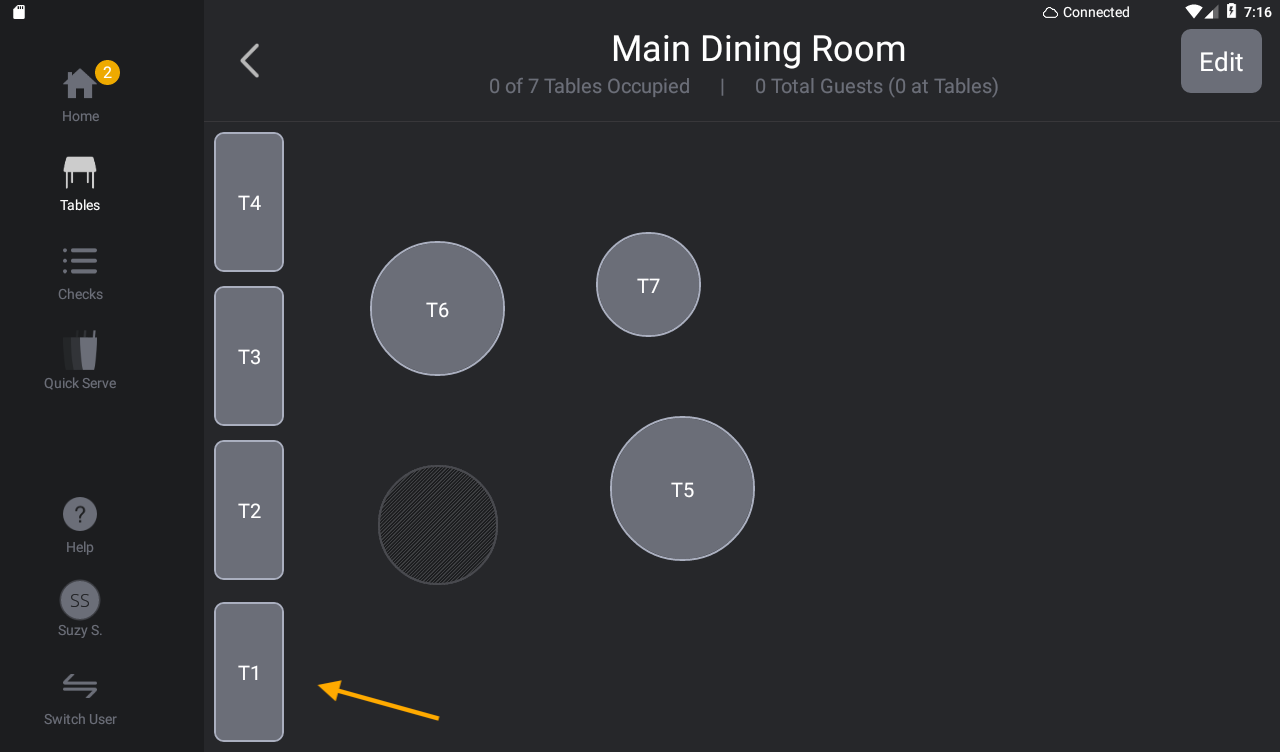
- Select the guest count for the table
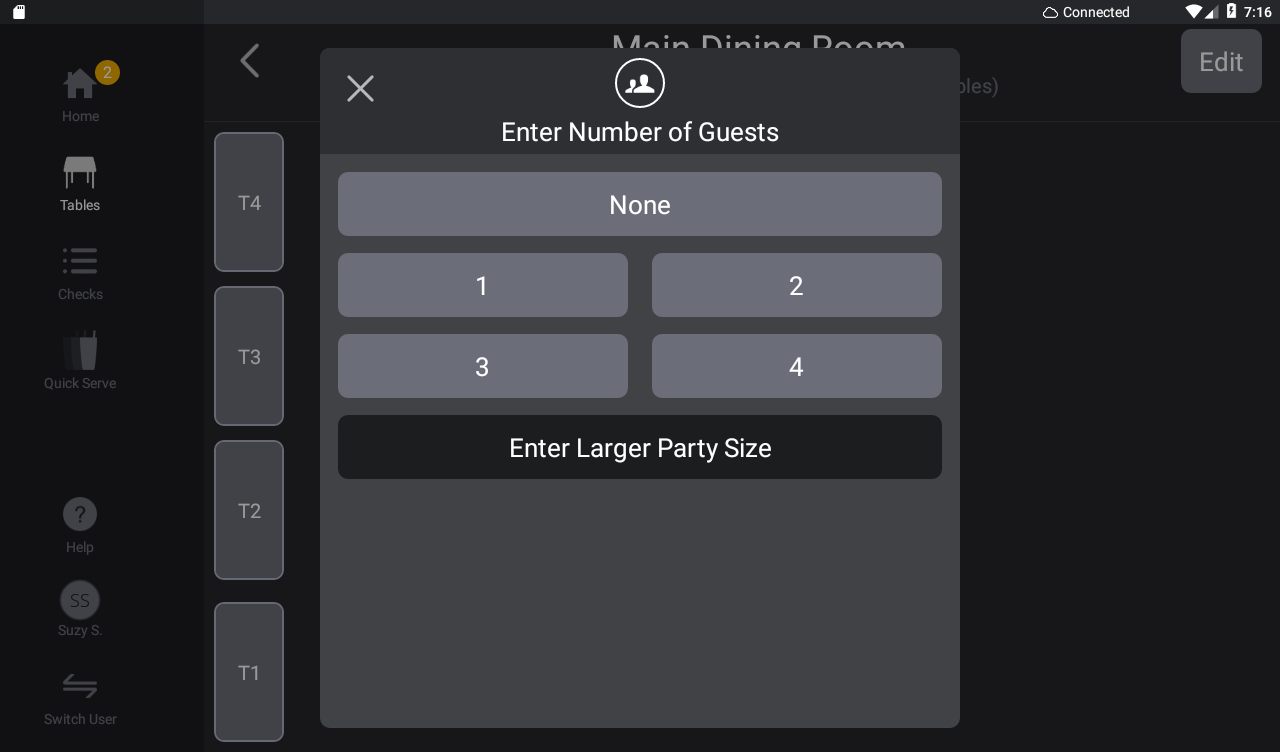
- A check will be created for the table and you can begin adding items to the check
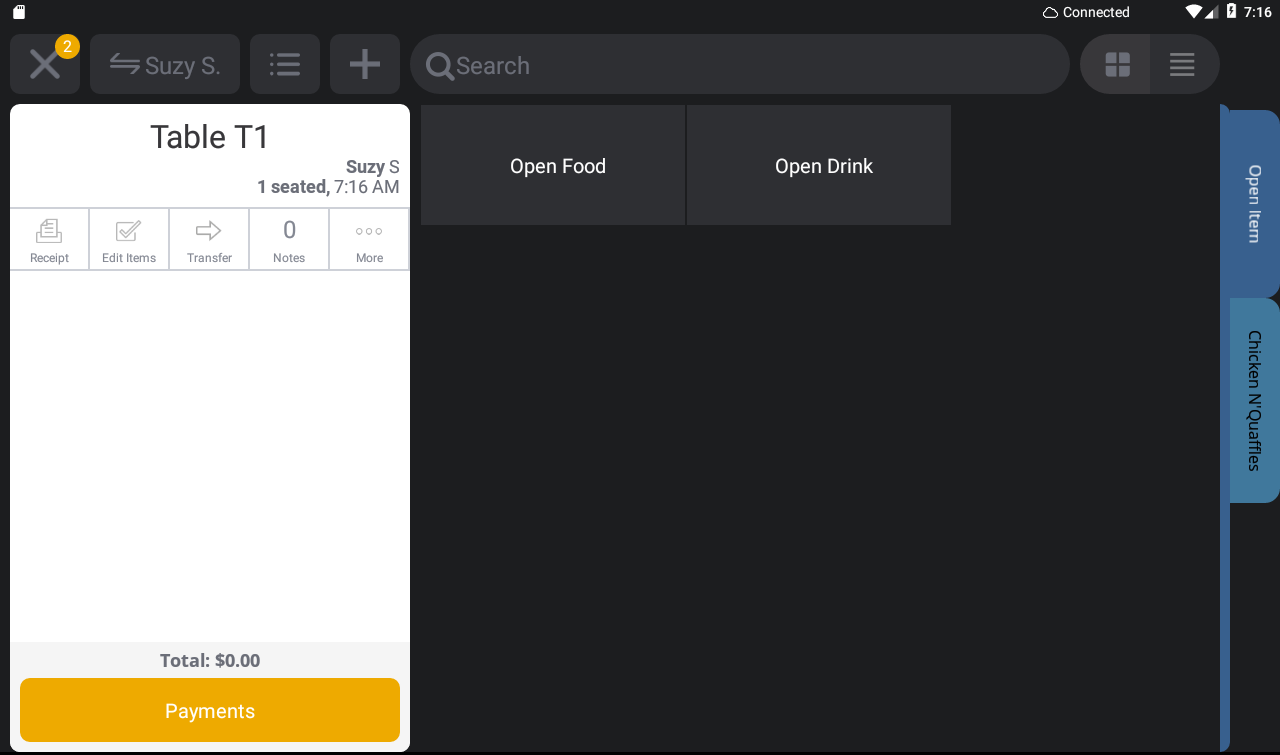
- Active tables (tables with open checks) will turn blue on your floor plan
| Note: For V3 iPad or Android terminals, if a server HOLDS an item on the table check, the table will turn yellow on the floor plan. To learn more about this feature, click here. |